Uploading a batch of photos is much easier when the files are prepared first. Download these two large-print guides, then follow the detailed instructions below.
Detailed instructions
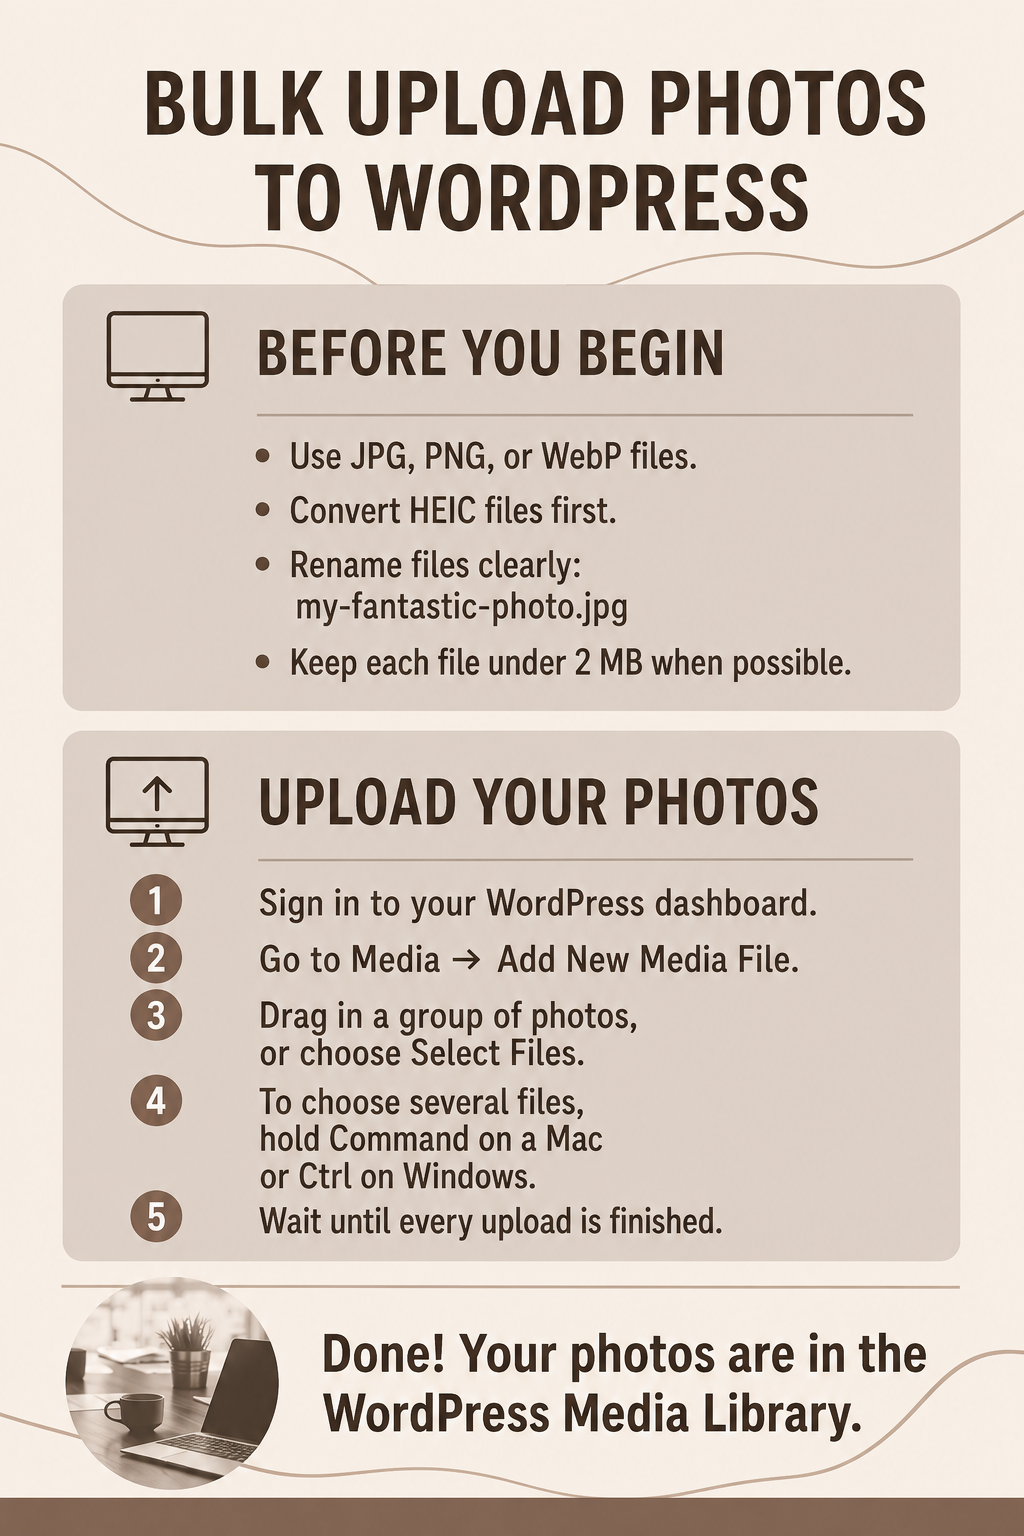
1. Prepare your photos
- Use JPG, PNG, or WebP files.
- Convert HEIC files before uploading them.
- Give each file a short, descriptive name, such as my-fantastic-photo.jpg.
- Keep each file under 2 MB when possible. Smaller images upload faster and are easier for website visitors to view.
2. Convert HEIC photos when needed
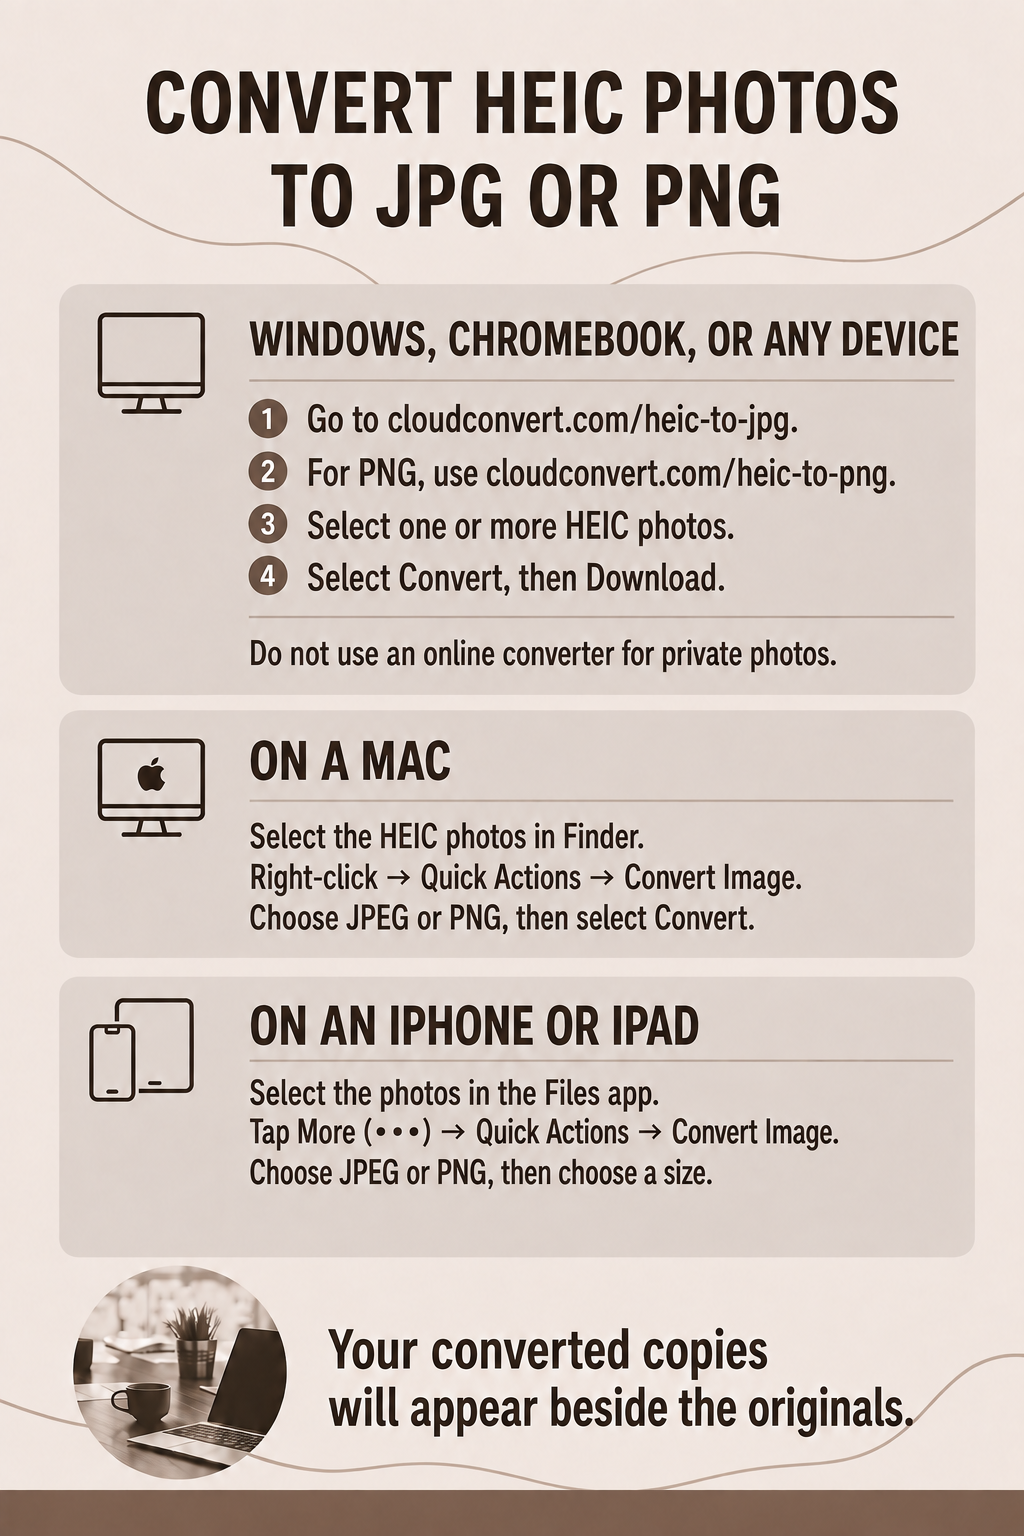
Windows, Chromebook, or almost any device
- For JPG files, open CloudConvert’s HEIC-to-JPG converter.
- For PNG files, open CloudConvert’s HEIC-to-PNG converter.
- Choose Select File and select one or more HEIC photos.
- Choose Convert.
- When the conversion finishes, choose Download.
Privacy note: Do not upload private or sensitive photos to an online converter.
On a Mac
- Open Finder and select the HEIC photos.
- Right-click the selected photos.
- Choose Quick Actions → Convert Image.
- Choose JPEG or PNG, then select Convert.
If Convert Image is not available, follow Apple’s instructions for converting image formats in Preview.
On an iPhone or iPad
- Open the Files app and select the photos.
- Tap More (•••).
- Choose Quick Actions → Convert Image.
- Choose JPEG or PNG, then choose a size.
Your converted copies will appear beside the originals.
3. Bulk upload the photos to WordPress
- Sign in to your WordPress dashboard.
- In the left menu, go to Media → Add New Media File.
- Drag a group of photos into the upload area, or choose Select Files.
- To select several files at once, hold Command on a Mac or Ctrl on Windows while selecting them.
- Wait until every upload has finished before leaving the page.
- Open Media → Library to confirm that the photos are there.
WordPress also provides an official guide to the Add New Media screen.
You can always email your photos to me if you would rather have help preparing or uploading them.